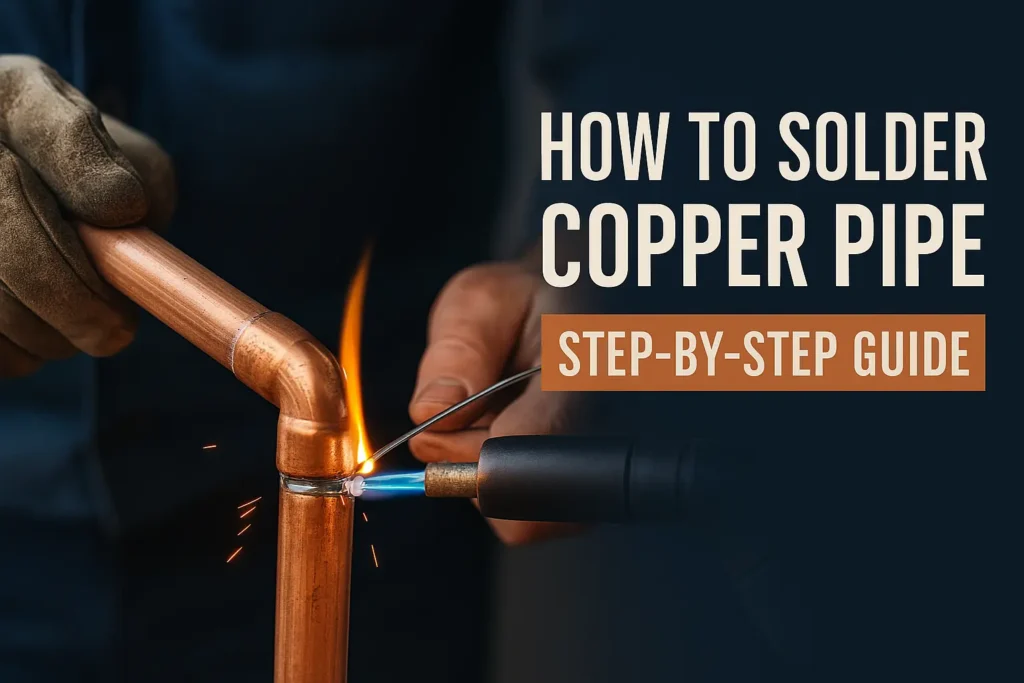
Soldering copper pipes is a fundamental skill for DIY enthusiasts, plumbers, and homeowners looking to repair or install plumbing systems. Mastering this technique can save time and money, whether you’re fixing a leaky joint or installing a new water line. In this blog post, we’ll walk you through how to solder copper pipe effectively and safely, using step-by-step instructions and expert tips.

Introduction | How to Solder Copper Pipe
If you’ve ever faced a leaky pipe or needed to run a new water line, you’ve probably encountered copper piping. While there are modern alternatives like PEX, copper pipes are still widely used due to their durability and reliability. Knowing how to solder copper pipe ensures strong, leak-proof joints and extends the lifespan of your plumbing system.
This guide is designed to help you confidently approach your next plumbing project.
Table of Contents
Tools and Materials You’ll Need
Before you start, gather these essential tools:
- Copper pipes and fittings
- Propane torch
- Solder (lead-free for potable water)
- Flux
- Flux brush
- Emery cloth or sandpaper
- Pipe cutter
- Heat shield
- Safety gloves and goggles
- Fire extinguisher (just in case)
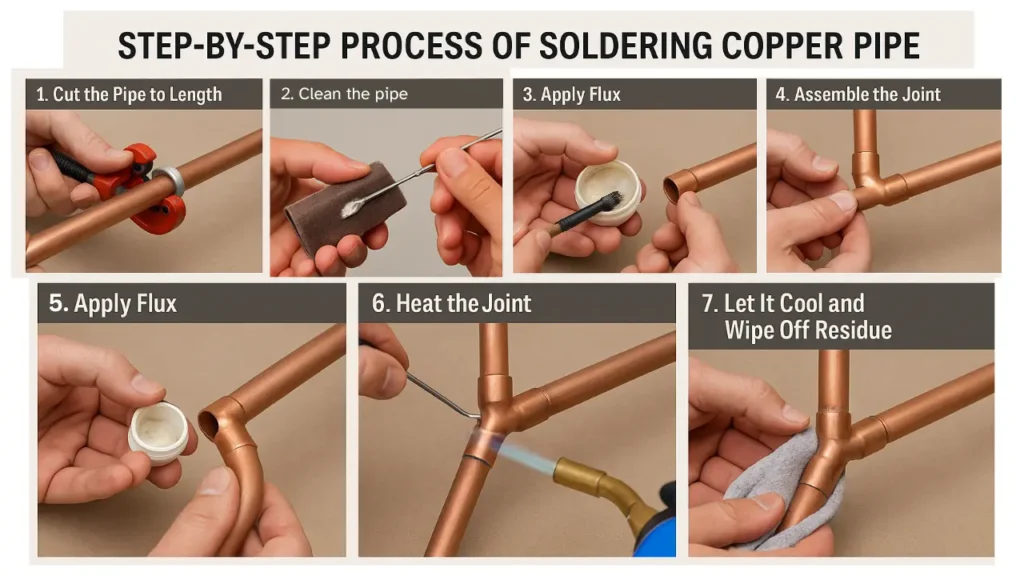
Step-by-Step Guide: How to Solder Copper Pipe

Step 1: Cut the Pipe to Length
Use a pipe cutter to cleanly cut the copper pipe to the desired length. Rotate the cutter around the pipe, tightening slightly after each rotation.
Step 2: Clean the Pipe and Fittings
- Use an emery cloth or sandpaper to clean the outside of the pipe end and the inside of the fitting.
- Cleaning ensures a strong bond and prevents leaks.
Step 3: Apply Flux
- Use a flux brush to apply a thin, even flux layer to the pipe and the fitting.
- Flux helps the solder flow evenly and prevents oxidation during heating.
Step 4: Assemble the Joint
- Push the pipe into the fitting until it’s fully seated.
- Twist slightly to spread the flux evenly.
Step 5: Heat the Joint
- Light your propane torch and apply heat to the fitting, not the pipe.
- Move the flame in a circular motion to heat the entire joint evenly.
Step 6: Apply Solder
- Once the flux sizzles and the joint is hot enough, touch the solder to the joint.
- The solder will melt and get drawn into the joint by capillary action.
Step 7: Let It Cool and Wipe Off Residue
- Allow the joint to cool naturally for a few minutes.
- Wipe off excess flux residue with a damp cloth to prevent corrosion.
Safety Tips for Soldering Copper Pipes
- Always work in a well-ventilated area.
- Keep flammable materials away from your work area.
- Wear safety goggles and heat-resistant gloves.
- Use a heat shield behind the pipe when working near walls.
- Have a fire extinguisher nearby.
Common Mistakes to Avoid
- Not cleaning the pipe and fitting properly: This leads to weak joints.
- Overheating the joint: This can burn the flux and prevent solder adhesion.
- Using too much solder: Excess solder doesn’t strengthen the joint.
- Touching the joint before it cools: This can ruin the bond.
Following topics covered
- how to solder copper pipe without leaks
- tools needed to solder copper pipe
- common mistakes when soldering copper pipe
- safety tips for soldering copper plumbing
- how to use flux when soldering copper pipes
FAQs: How to Solder Copper Pipe
Can I solder copper pipe without flux?
No. Flux is essential to clean the metal surfaces and allow the solder to bond.
How do I know if the joint is fully soldered?
Solder should visibly fill the joint all around. You may also see a shiny ring of solder at the connection.
What type of solder should I use for water pipes?
Always use lead-free solder for potable water applications.
Is it safe to solder copper pipes indoors?
Yes, but ensure good ventilation and use a heat shield to prevent fire hazards.
Can I use a butane torch instead of propane?
Yes, for small jobs. However, propane provides higher heat and is preferred for larger pipe sizes.
Summary of Key Steps
- Cut and clean the pipe and fitting
- Apply flux evenly
- Heat the fitting, not the pipe
- Feed solder into the joint
- Let it cool naturally
Following these steps will help you create strong, reliable joints in your plumbing system.
Conclusion
Soldering copper pipes is a skill worth learning for any DIYer or homeowner. With the right tools, preparation, and safety precautions, you can tackle minor plumbing repairs or installations with confidence. Now that you know how to solder copper pipe, you’re one step closer to mastering your home’s plumbing system.


